Many people want longer, stronger nails without the hassle of waiting for natural growth. The best solution? Get extensions using gel nails. These extensions provide durability, a natural look, and a sleek finish. The best part is that applying them does not have to be complicated. With the right tools and techniques, anyone can achieve flawless gel extensions easily.
What Are Gel Nail Extensions?
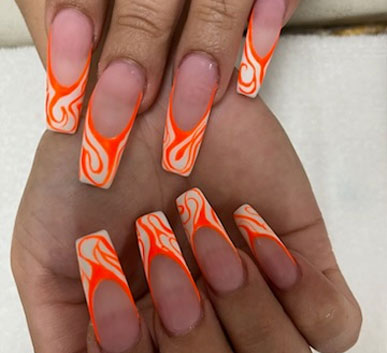
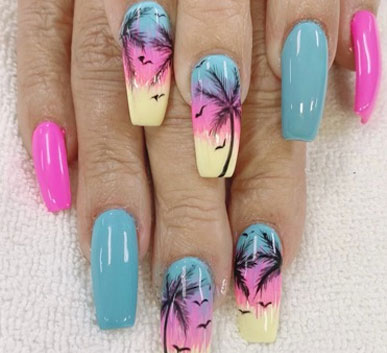
Gel nail extensions are lightweight artificial nails applied using a special gel formula that hardens under UV or LED light. Unlike acrylics, gel extensions are odor-free, flexible, and easier to maintain. They offer a more natural feel and a smooth, glossy appearance.
What You Need Before You Begin
To get extensions, having the right tools is essential. Here’s what you need:
- Gel nail extension tips or forms
- Nail file and buffer
- Nail dehydrator and primer
- Gel base coat
- Builder gel
- UV or LED lamp
- Gel top coat
Having these supplies ensures a smooth and long-lasting application.
Step-by-Step Guide to Applying Gel Nail Extensions
- Prep Your Natural Nails
Start by cleaning and shaping your nails. Trim them to a short length and file the edges smoothly. Use a nail buffer to remove shine from the nail surface, allowing the gel to adhere better.
- Apply a Nail Dehydrator and Primer
To prevent lifting, use a nail dehydrator to remove excess oil and moisture. Follow up with a primer to help the gel bond securely to your natural nails.
- Attach the Nail Extension Tips or Forms
For those using tips, choose the right size for each nail and apply with a small amount of glue. If using forms, place them under your nails to create an extended length.
- Apply a Thin Base Coat
Apply a thin layer of gel base coat and cure it under a UV or LED lamp. This layer helps the builder gel adhere properly.
- Build the Nail with Gel
Use builder gel to create the extension. Apply a small bead of gel and spread it evenly using a nail brush. Cure under the lamp for 60 seconds. Repeat this step until you achieve the desired thickness and shape.
- Shape and File the Nails
Once the gel has hardened, shape the nails using a file. Smooth out any uneven edges and refine the structure for a natural look.
- Apply a Top Coat for a Glossy Finish
Seal the extensions with a top coat to add shine and durability. Cure under the lamp one final time to lock everything in place.
Tips for Maintaining Gel Extensions
To keep your gel extensions looking flawless for weeks:
- Apply cuticle oil daily to keep nails hydrated
- Avoid using nails as tools to prevent lifting
- Get regular fills to maintain their appearance
- Wear gloves when doing household chores to protect the extensions
Why Choose Gel Extensions Over Acrylics?
- Less damaging: Gel extensions are gentler on natural nails compared to acrylics.
- More flexible: They bend with your nails, reducing the risk of breakage.
- Odor-free: Unlike acrylics, gel extensions do not have a strong chemical smell.
- Easier removal: They can be soaked off without excessive filing or drilling.
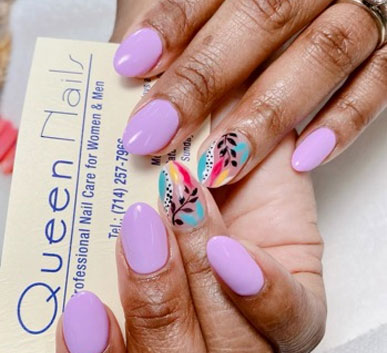
Get Extensions Done by Professionals at Queen Nails & Spa
While DIY gel extensions can be fun, visiting a professional salon ensures a flawless finish. Experts at Queen Nails & Spa apply high-quality gel extensions that last longer and look stunning. They also offer a variety of nail services, including manicures, pedicures, and nail art.
For those looking to get extensions, scheduling an appointment with Queen Nails & Spa guarantees perfect results every time.
 OPI Nail Polish 1 × $94,
 Sunscreen Lotion 1 × $89
 Wholesale Liquid 1 × $75
 Hair Dryers 1 × $72
 Argan Hair oil 1 × $81